Getting Started (5 min)
Get from raw screenshots → 3D frames → translations → export in one short run-through.
At the end you’ll have a tidy folder of correctly sized PNGs you can upload to App Store Connect.
Before you start
- Requirements: macOS 15+, Apple silicon recommended.
- You’ll need: a few app screenshots (from Xcode Simulator or PNG/JPG files).
Tip: If you have nothing handy, take a quick Simulator screenshot (⌘S) or use any 1290×2796 sample PNG.
What you’ll build
- One project with a starter template
- One artboard framed in a realistic 3D device
- A final export at the correct App Store size
Step 1 — Create a project (00:30)
- Open ButterKit.
- Click Create New Project
Step 2 — Bring in your screenshots (00:45)
- Capture from Xcode Simulator: When ButterKit is running, it attaches the ButterKit capture widget will appear
- Drag & drop: Drop any PNG/JPG directly onto the canvas (or onto the device screen area).
- Automate via Fastlane You can capture screenshots via Fastlane and then drag them into ButterKit
Note: If you’re not seeing the ButterKit Capture widget, make sure it’s setup. Open ButterKit > Settings > Capture.
Step 3 — Frame it in 3D (01:15)
- In ButterKit, Create an artboard
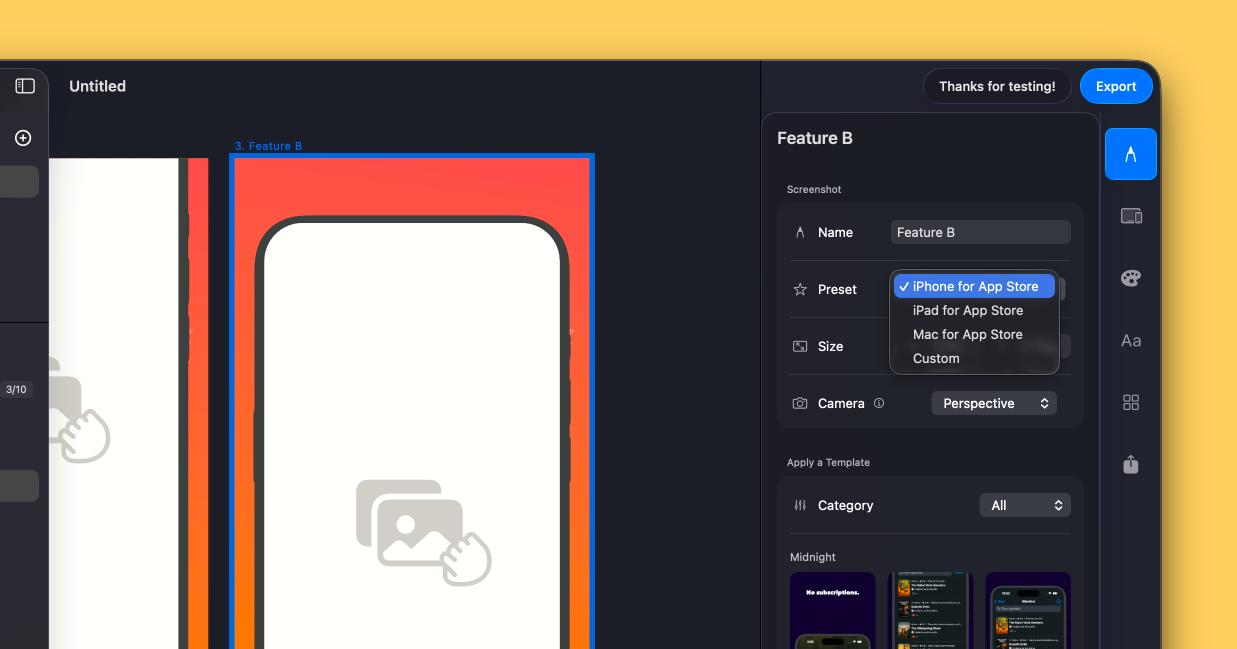
- Optionally give the artboard a name, then ensure the proper size preset is selected (e.g. iPhone for App Store if you’re building an iPhone app)
- Drag your screenshot onto an artboard to have it automatically framed into the default 3D device

Each artboard has its own camera, sizing, and other properties
Tip: Orthographic camera is great for grid-clean, poster-style layouts; Perspective adds depth for hardware-showcase shots.
Step 4 — Add translations (01:00)
- Select an artboard and click the “Text” section in the Inspector
- Adjust the text to highlight key features in your app
- In the Translations panel, click +
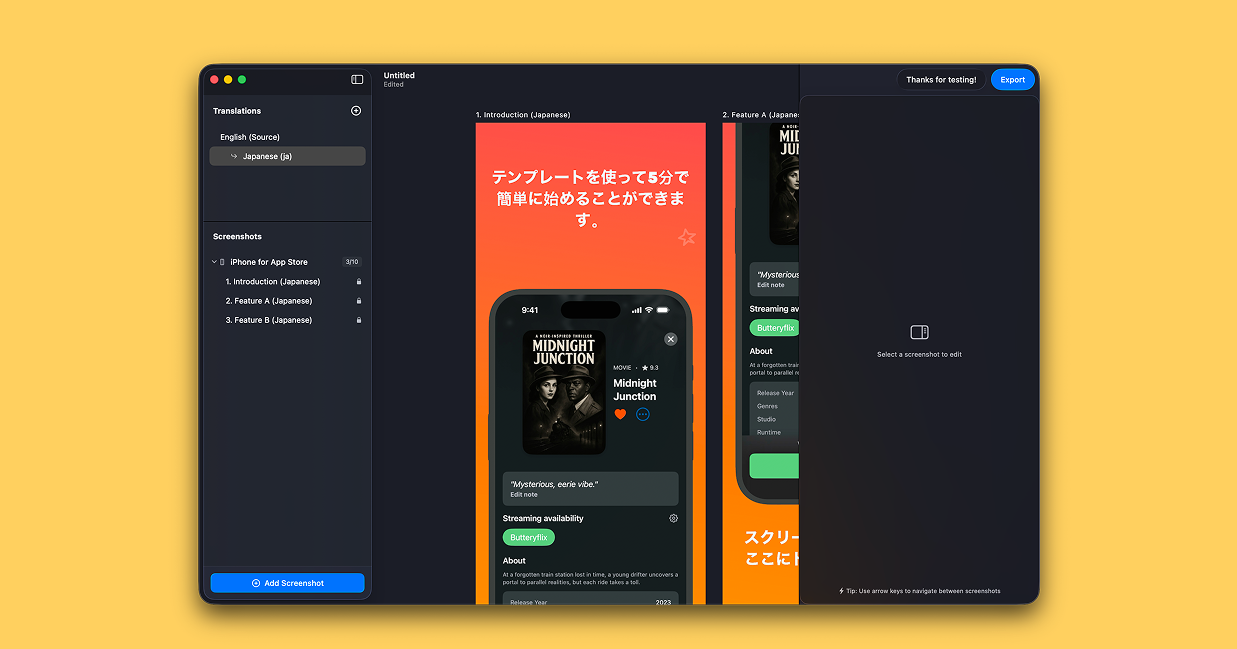
- Translate to dozens of languages, either on-device or using external providers like OpenAI
Tip: You can quickly capture new screenshots for each language/localization via the ButterKit Capture widget. Simply select an artboard, and re-capture ‘into’ it to replace the existing device screenshot. You can even quickly swap localizations in the ButterKit Capture tool.
Step 5 — Export your set (01:30)
- Press Export in the top right
- Configure which artboards you want to export
- Select an output folder and hit Export.
- Open the folder to review your PNGs and easily upload to App Store Connect.

Quickly translate your screenshots into all App Store Connect languages
You did it 🎉
You now have a complete set of professionally-designed, translated, and exported PNG screenshots ready for App Store Connect.